Side A · Liner notes
Avoiding Damage When Installing Bicycle Pedals: A Practical Guide
Nutrition · Words by Joseph Jones · Released
Improper pedal installation can lead to costly bike repairs. This guide provides steps and tips to ensure a safe and effective installation.
Installing new pedals correctly is essential for both your safety and the longevity of your bike. Many cyclists—regardless of experience—have faced challenges during pedal installation that can lead to damage not just to the pedals but also to the crank arms. Repairing these issues can range from just under $100 to more than $500, depending on the extent of the damage. The most common installation mistakes include threading pedals at an incorrect angle, attaching them to the wrong side of the cranks, or failing to properly torque the pedals, which can cause them to back out during rides. This guide simplifies the installation process while highlighting key precautions to prevent these problems.
Importance of Proper Installation
The concerns associated with improper pedal installation cannot be overstated. Pedals not only enhance cycling efficiency but also contribute to overall safety. If a pedal comes loose mid-ride, it can lead to an unexpected fall or injury. It’s critical to follow best practices and have the right tools on hand to avoid damaging your bike or injuring yourself.
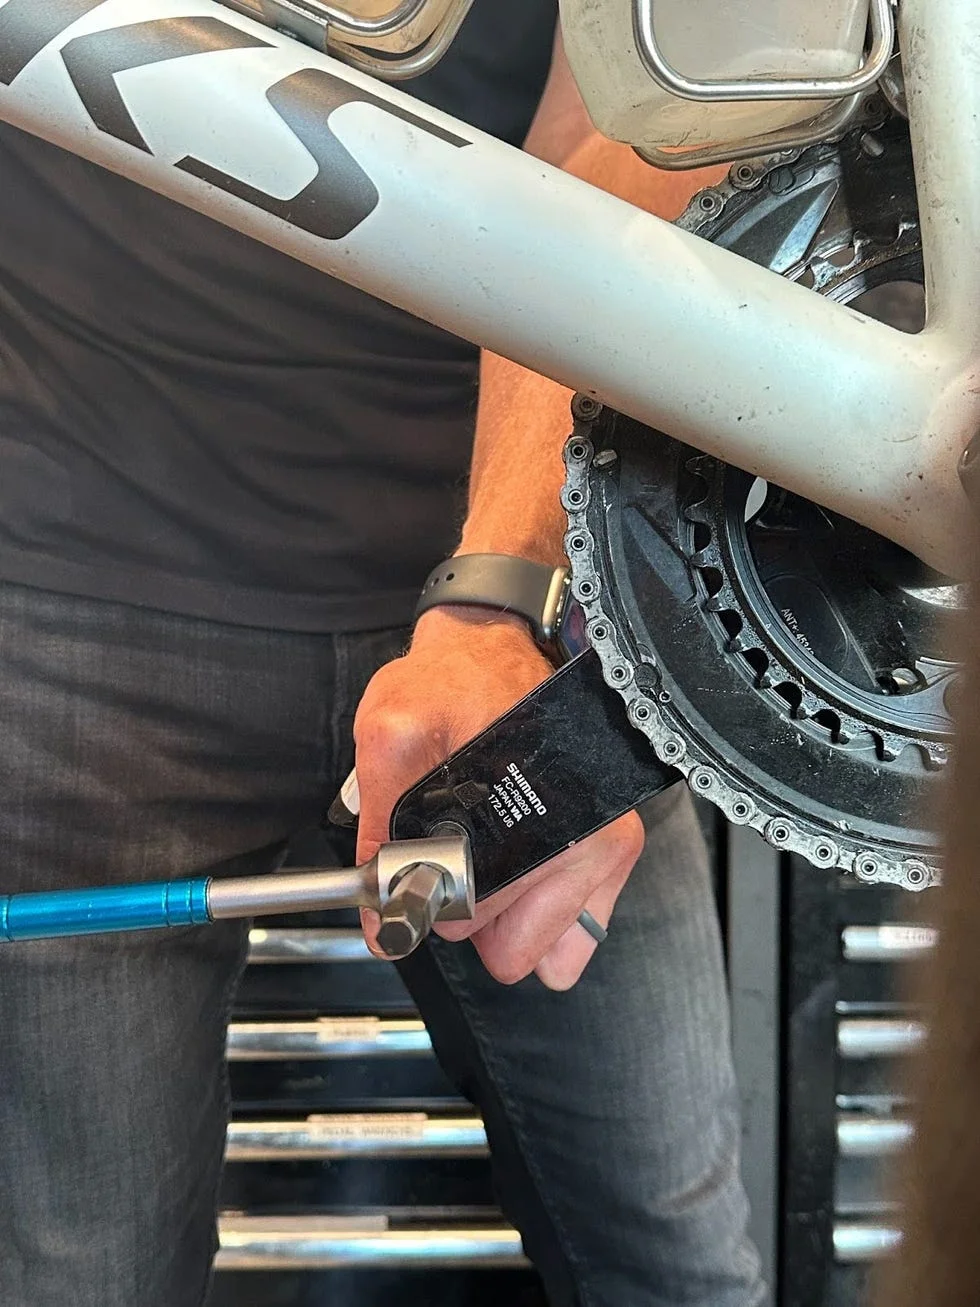
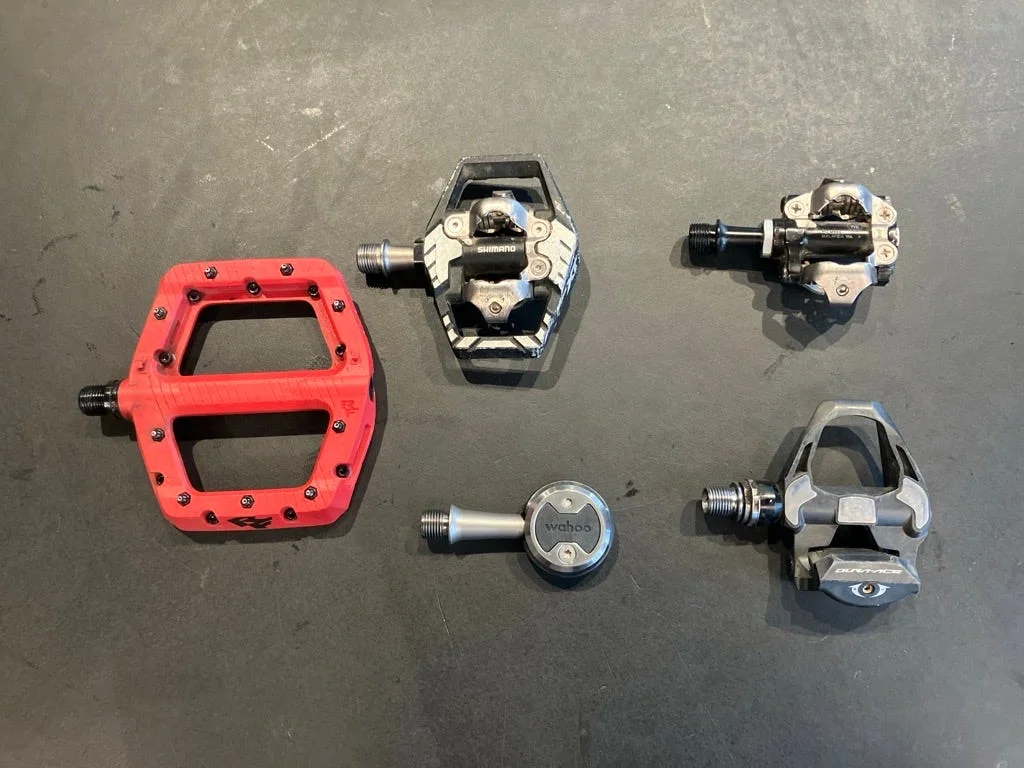
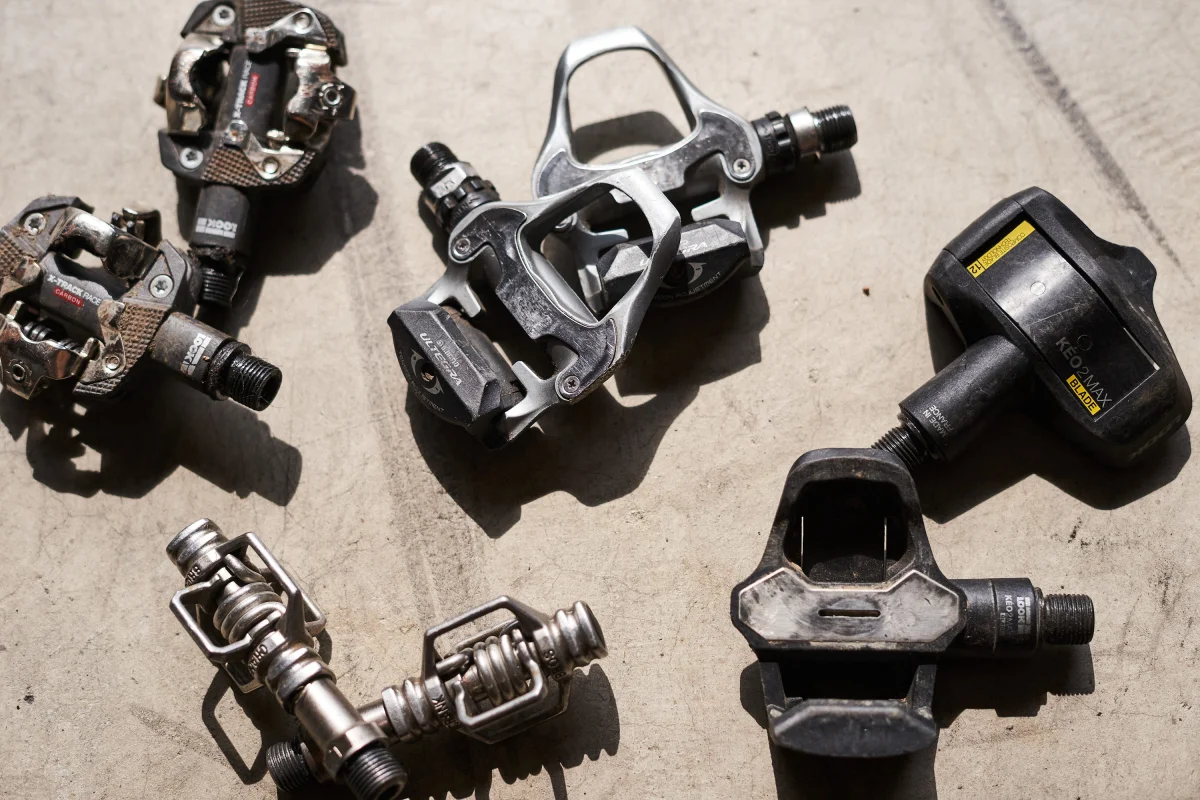
Various types of pedals are available, including flat, clipless, and designs from well-known brands like Wahoo and Shimano.
Tools Needed for Installation
Before beginning the installation process, gather the following tools:

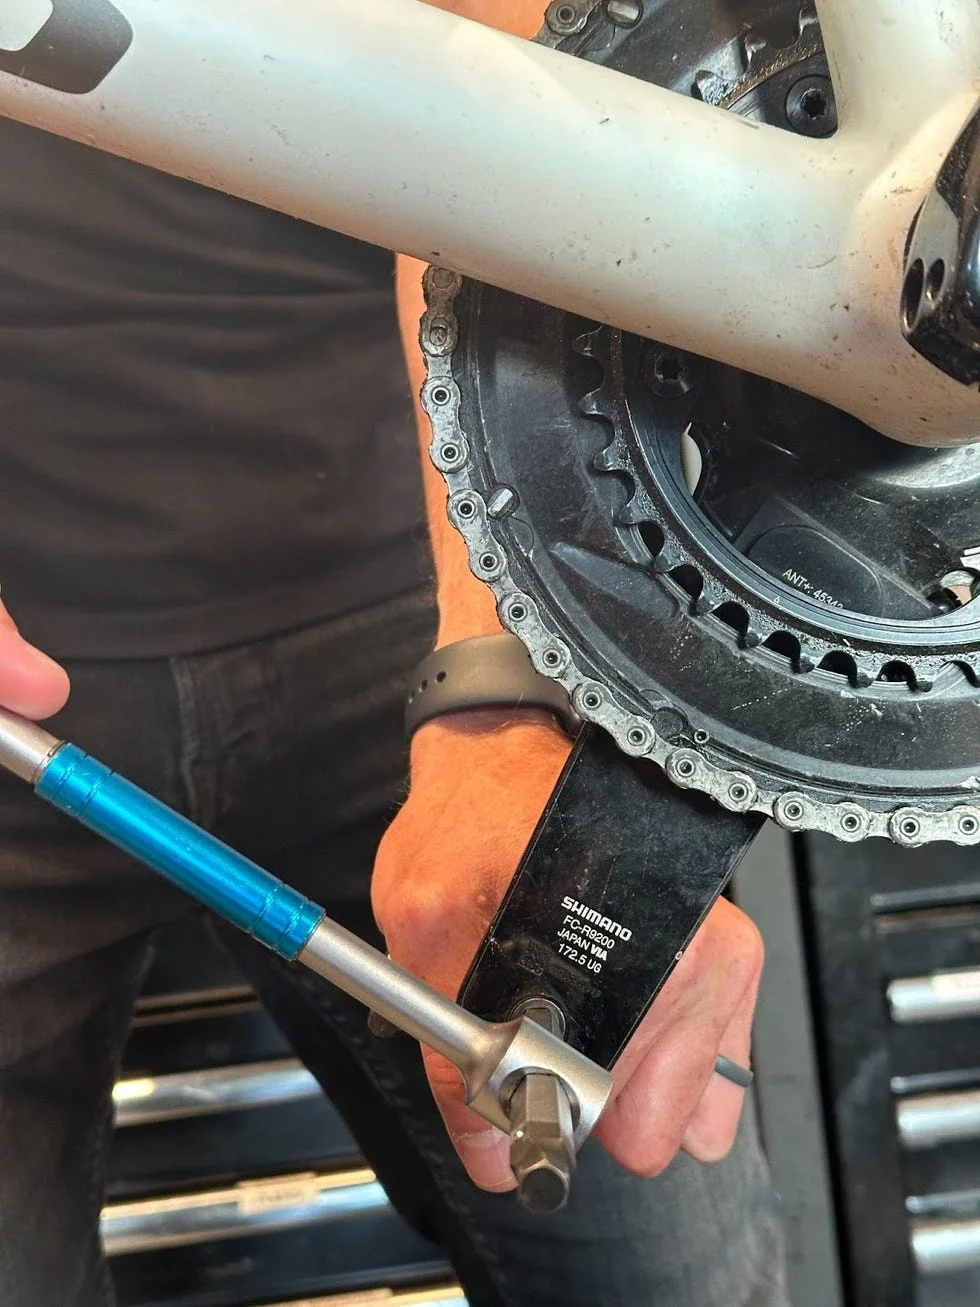
- Pedal Wrench or a 5/6 mm Hex Wrench
- Bicycle Grease
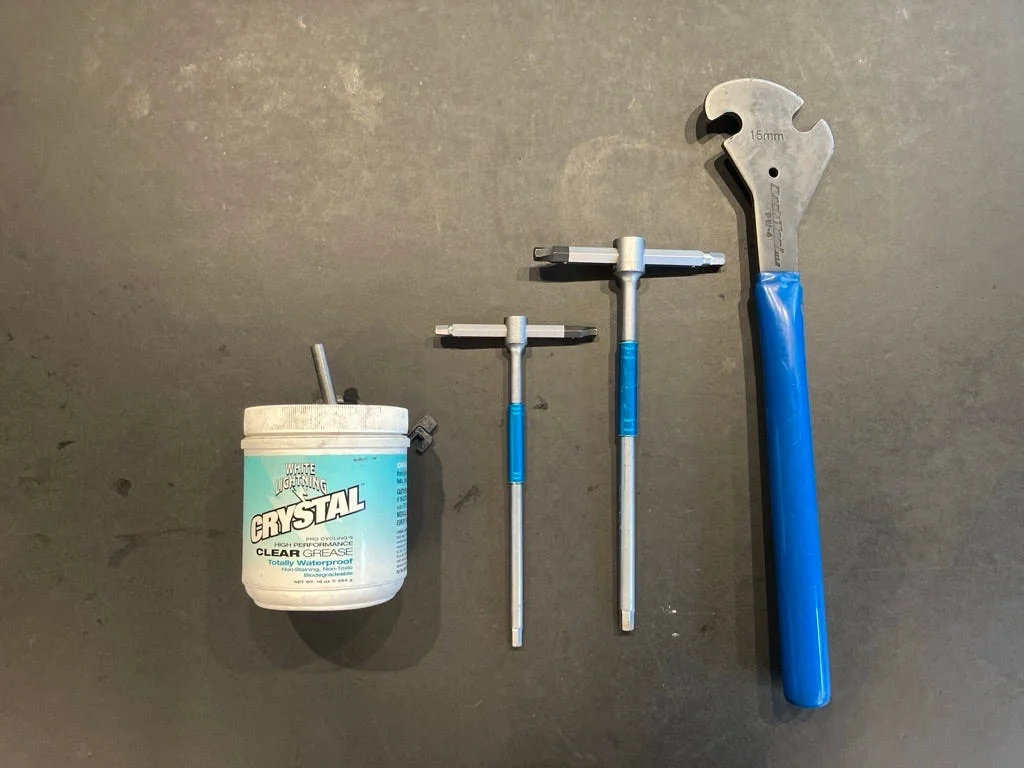
Having the correct tools at your disposal is vital for a smooth installation.

Steps for Removing Old Pedals
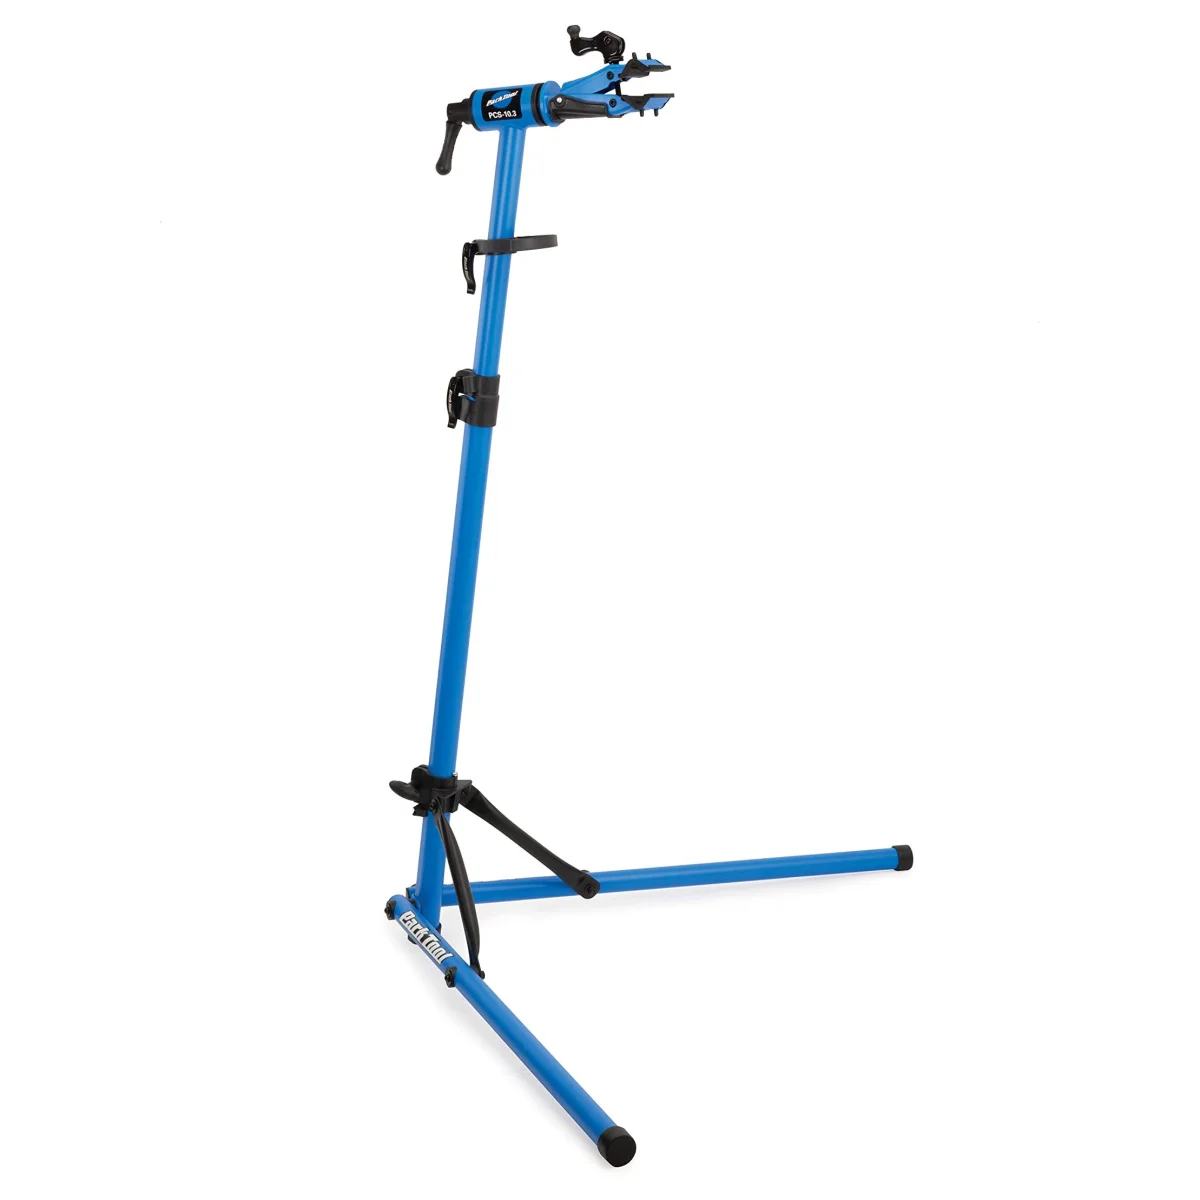
- Begin by securing your bike in a stable position, making it easy to work near the pedals.
- If your bike has multiple gears, shift the chain to the largest front chainring to protect your hands during the process.
- Identify the appropriate tool for your pedal type. Determine if a 15mm wrench or a hex wrench is needed, based on the pedal spindle design.
- When ready, position the tool in the 4 o’clock position and pull the wrench toward the rear of the bike. This motion will help break the pedal free.
- If resistance occurs, you may need to slightly tighten the pedal first; this can alleviate initial binding.
- Be cautious: if the resistance feels excessive, stop. It may indicate corrosion or prior improper installation, which could require professional help.
- Once loosened, continue unscrewing the pedal until it detaches.
- Repeat these steps for the other pedal.
- Finally, clean the threads of the crank arms to prepare for installation.
Steps for Installing New Pedals
- Prepare your workspace, ensuring it’s safe and allows for easy access to the pedals.
- Examine the crank arms for any damage to the threads. If they appear damaged, consult a local bike shop before proceeding.
- Remove any doubt about pedal orientation by checking for markings (L for left and R for right). An easy rule to remember is that left pedals tighten counterclockwise, while right pedals tighten clockwise.
- Apply a small amount of bicycle grease to the pedal threads to facilitate smooth threading.
- Begin threading the pedals by hand. This initial step helps confirm the pedal is aligned correctly on the first try.
- After two or three threads are engaged, use your pedal wrench or Allen key to turn the pedal counterclockwise, but do not overtighten yet.
- Correctly engage the second pedal following the same steps.
- Ensure both pedals are snug by giving them a slight push with your wrench.
- Once you're set, it’s safe to head out for a ride!
In summary, following these measures can reduce the risk of installation errors. It's wise to consult the bike's manufacturer for the specific torque settings, and a torque wrench can help ensure that pedals are tightened appropriately, safeguarding against future issues.
For cyclists who might feel uncertain about their ability to install pedals correctly, visiting a local bike shop for assistance can provide peace of mind—for both their safety and the health of their bike.
Jason Griffin is the Senior Health and Fitness Editor at Bicycling, with years of experience in fitness and the cycling industry.