Side A · Liner notes
Essential Pre-Ride Checklist for Cyclists: How to Ensure Your Bike is Ready for Action
Nutrition · Words by John Miller · Released
Preparing your bike well in advance of a major ride can prevent last-minute issues. Here’s a comprehensive pre-ride checklist to enhance your cycling experience.
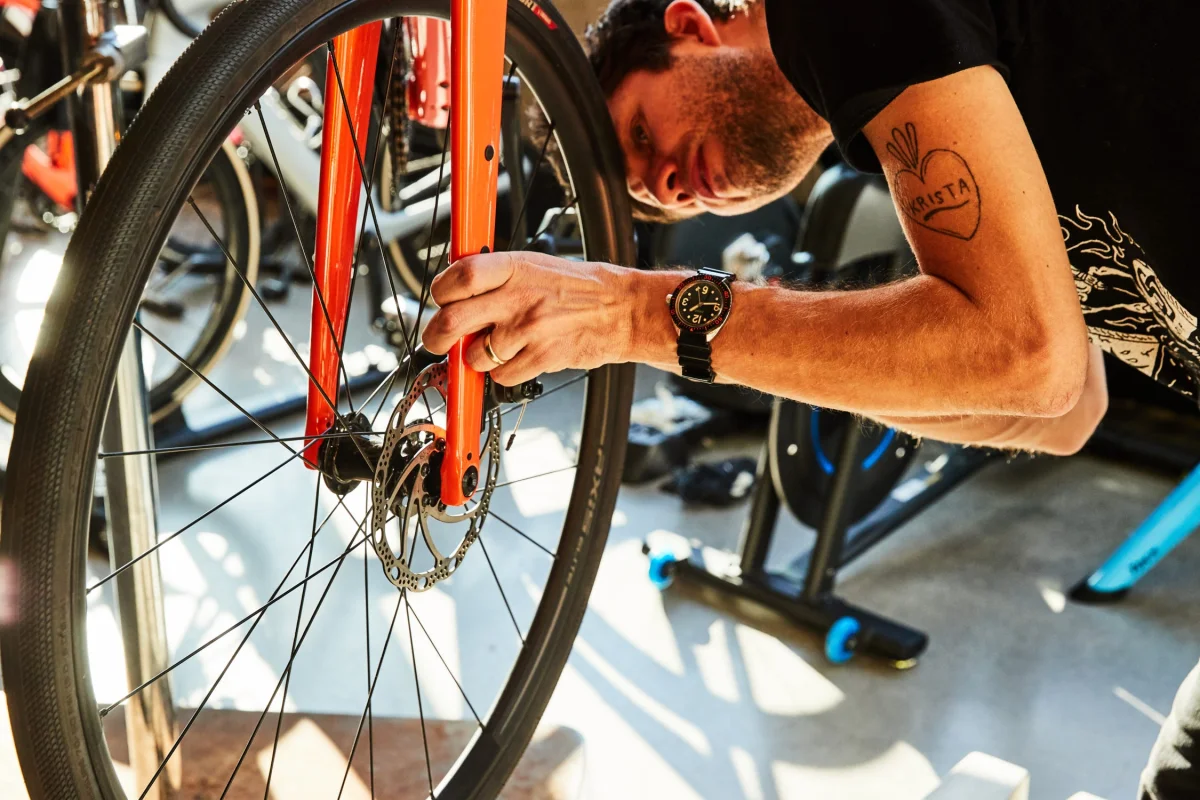
As a bike shop manager with years of experience, I’ve witnessed firsthand how crucial it is for cyclists to conduct a thorough pre-ride bike check. Many enthusiasts only check their bikes the day before an event, which often leads to avoidable mishaps. Issues can arise, such as over-torquing a bolt or discovering a wheel that requires truing. A single day rarely allows enough time for bike shops, especially during peak season, to fix unexpected problems.
Instead of waiting until the last minute, it’s wise to start your pre-ride preparations about a week to ten days before your ride. This timeframe provides ample opportunity to perform a comprehensive bike check, take a test ride, and even schedule minor repairs before you hit the road. Here's my detailed checklist to ensure you're ready to pedal confidently toward your destination.
Step 1: Clean Your Bike
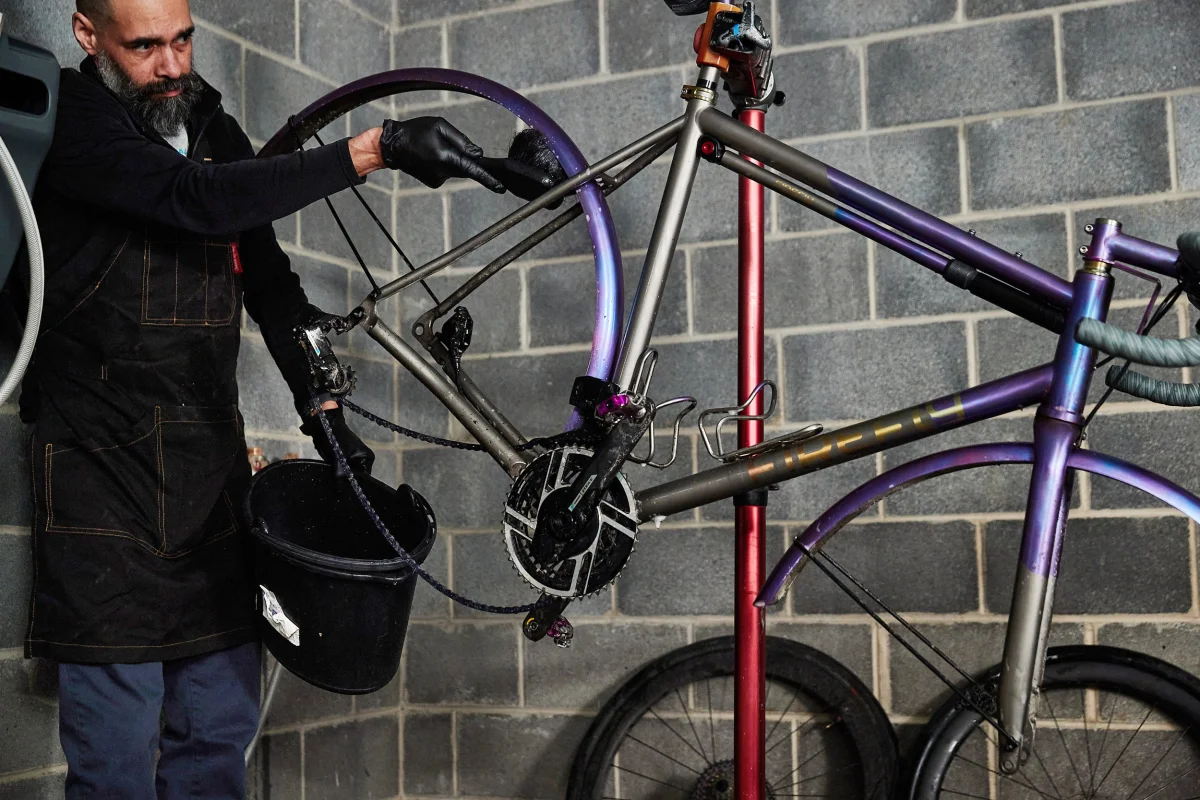
Begin by placing your bike in a repair stand for convenience. If your bike only has minor dust, a simple wipe down with a clean rag will suffice. However, if it’s significantly dirty, consider removing the wheels and performing a thorough wash.

Pay attention to the condition of your bike frame as you clean. When washing, apply a degreaser to the chain and derailleurs and let it sit. Use warm, soapy water with a sponge to clean the drivetrain. While cleaning, be sure to rinse the bike appropriately—avoid high-pressure water as it can enter bearings and components adversely.
Step 2: Inspect Your Tires
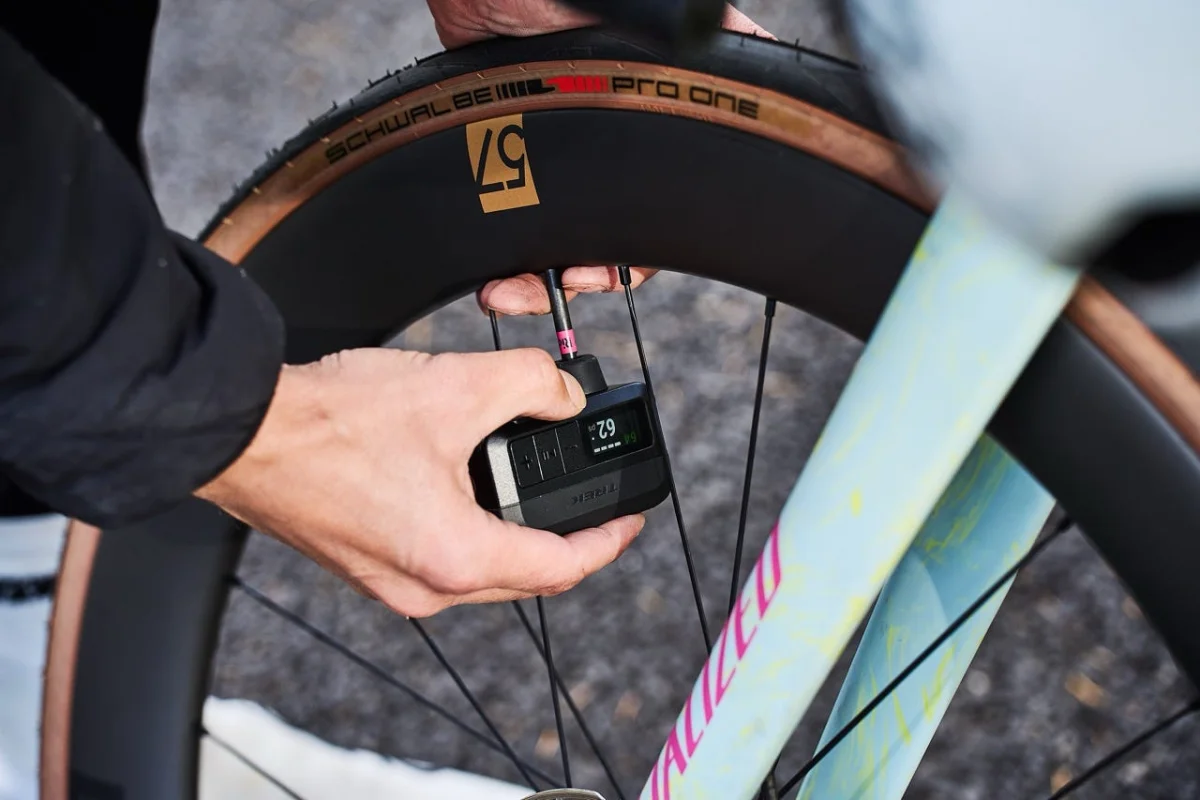
Check your tires for debris, punctures, cracks, or irregular wear. These issues can lead to blowouts mid-ride, so it's crucial to address them beforehand. If you have tubeless tires, check the sealant—topping it off may be necessary. You can do a quick check by shaking the wheel to hear if the sealant is sloshing around; if it’s silent, remove the tire to inspect and potentially reapply sealant.
After ensuring the tires are in good shape, inflate them to the appropriate pressure and verify that they are seated correctly on the rims. Any discrepancy in seating could lead to flats down the line. Similarly, ensure that your wheels are properly centered within the frame and securely fastened.

Step 3: Assess the Drivetrain
An essential part of bike maintenance is checking the drivetrain. Start by inspecting chainring bolts and ensuring they're adequately tightened—this includes pedals, handlebars, and brake components. Without overtightening, snug up these connections where necessary. Carry a multi-tool on long rides to quickly adjust these parts if needed.

Next, verify the condition of your repair gear, including your pump and spare tube. Be proactive in confirming that any electronic components, like a battery for AXS shifting systems, are charged ahead of time.

Step 4: Maintain the Bike Chain
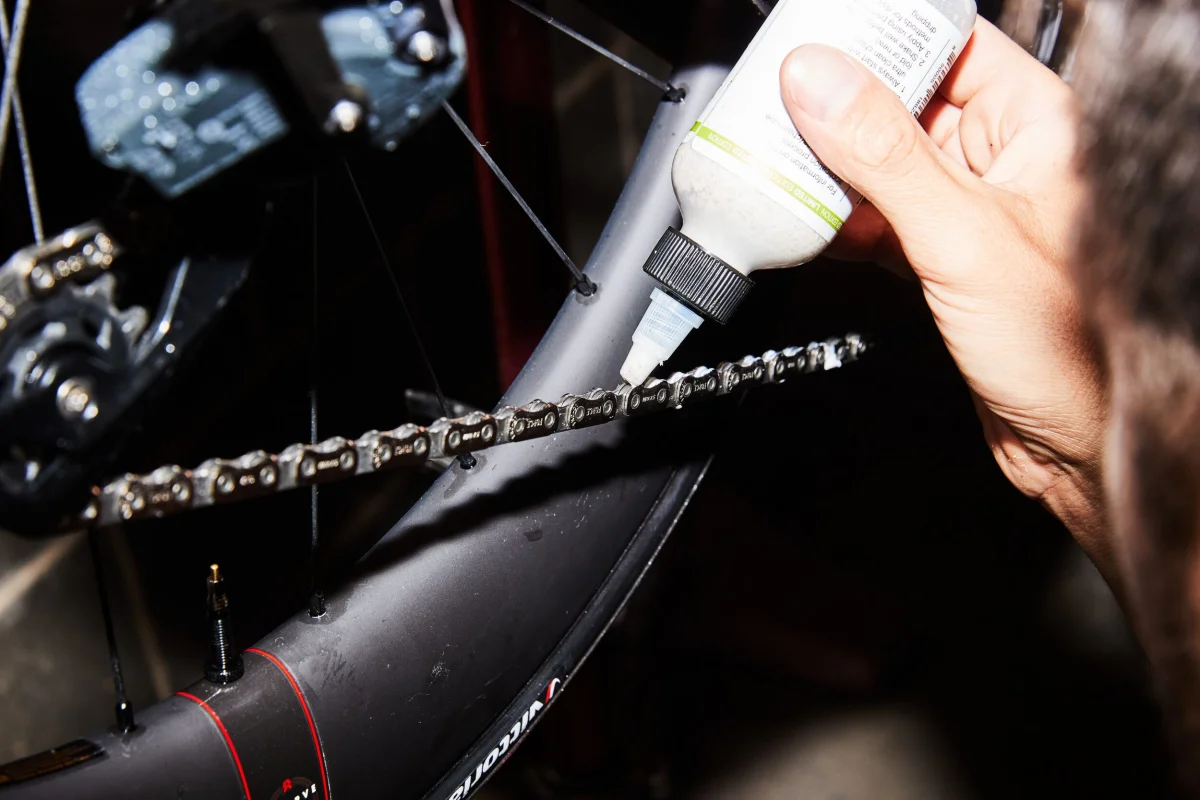
Lubrication is key to a smoothly operating bike. Apply lube to the chain, ensuring you work it into the links. Test shifts through all the gears to see how well they perform. Adjustments may be needed if the shifts are sluggish. This often indicates that the rear derailleur's cable might need attention.
If adjustments are necessary, it generally involves turning the adjustment barrel of the derailleur to alter tension—some trial and error may be required. Ensure that your electronic shifting systems are functioning correctly as well; a fully charged battery is crucial for their operation.
Step 5: Examine Brake Pads
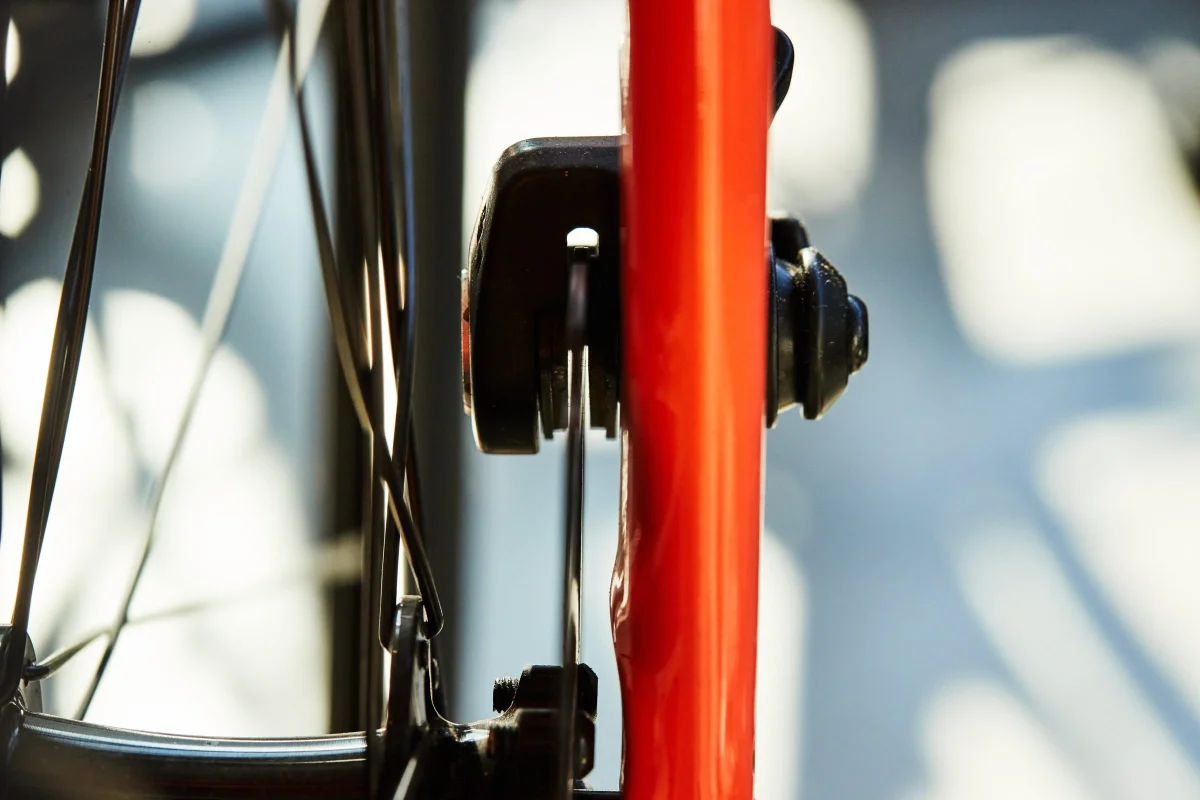
With the increasing prevalence of disc brakes, do a quick visual inspection of your rotors and pads. Spin the wheel and listen for any noise which indicates the rotor is rubbing against the pad, necessitating an adjustment. Make sure there’s adequate pad material left, at least 1.5 mm, to guarantee effective braking power.
If you have rim brakes, inspect the condition of your brake pads. Worn pads should be replaced, and adjustment to the brake's position is vital for optimal braking. The final step is checking for wheel trueness while you're at it—this should be done at least a week before any major rides.
Step 6: Check the Headset and Bottom Bracket
Next, check your headset for any play. To do this, hold the fork and try moving it in different directions. Adjust the stem screw if necessary to eliminate play. Moving to the bottom bracket, check for any looseness by pulling on the crank arms - if they're loose, consult a shop for adjustments.
Step 7: Conduct a Test Ride
After going through your checklist, embark on a short test ride. Pay attention to how the bike feels while shifting gears and braking. Be alert for any rattling or unusual noises that may suggest lingering issues. I recommend wearing your riding kit during this test ride to simulate the actual riding conditions of your planned event.
Finally, keep in mind that most bike shops can accommodate quick repairs like wheel truing or brake pad changes within a few days—but a full tune-up requires more time. To ensure your gear performs well after your ride, remember to return to the shop for a complete service. This allows you to maintain your bike’s performance while extending its life.
By carrying out these steps about a week before your ride, you'll alleviate the risk of any last-minute problems so you can focus entirely on enjoying your cycling experience.